


Your unique setup with Tuya smart home devices holds the key to inspiring others and unlocking new possibilities in home automation—whether you’ve built a robust Zigbee mesh with sensors from AliExpress, perfected your lighting with budget-friendly bulbs, or integrated clever automations that solve everyday problems, sharing your experience creates a valuable knowledge base for everyone from beginners avoiding pitfalls to advanced users optimizing for reliability and efficiency. Join the conversation, post your device lists, favorite scenes, and practical tips, and let’s collaboratively build the ultimate resource for transforming living spaces with smart technology.
Table Of Content
- How to Share Tuya Smart Devices with Family & Friends: Easy Guide
- Getting Started: Preparing Your Tuya Devices for Sharing
- Checking Device and App Compatibility
- Understanding User Roles: Owner vs. Member
- Creating a Shared Home in the Tuya App
- Step-by-Step Guide to Inviting Family Members
- Adding Users via Phone Number or Email
- Question-Answer
- I set up all the smart devices in our home. Can I let my spouse control them without giving them my full Tuya account password?
- My friend accepted my device share, but they can’t turn the lights on. What went wrong?
- Is there a time limit or a way to take back access after sharing a device?
- I’m housesitting for my parents. Can I get temporary access to their smart lock without permanently sharing it?
- Open Tuya or Smart Life app, go to Household/Family, and send an invitation via QR code or link.
- Set granular permissions per user so guests have limited control while household members get full access.
- Use Temporary Share for short-term access and set automatic revocation after the desired period.
- Verify device and app compatibility, update firmware, and designate a primary administrator to manage shares.

Begin by opening the Tuya or Smart Life application and navigating directly to the household management section, often found under ‘Me’ or ‘Family’. Here, you initiate the process by sending an invitation via a generated QR code or link. For instance, after installing a Melery WIFI Tuya Smart Wall Socket or a LSC Smart Ceiling Light from AliExpress, you can immediately authorize others without revealing your primary account credentials.
Precise control is paramount. During the setup, you will define granular permissions for each user. You might allow a guest to only toggle the living room lights, while granting a live-in relative full administrative rights to schedule scenes for the robot vacuum and smart thermostat. This tiered authorization ensures security and convenience, preventing accidental changes to complex automations.
For temporary sharing, such as with short-term renters or guests, utilize the ‘Temporary Share’ feature. This function is ideal for granting weekend access to a Melery Wifi Smart US/UK/EU Outlets Power Strip or a Sonoff Wi-Fi Switch from AliExpress, with automatic revocation after a set period. Effective management means your connected environment remains adaptable, allowing seamless collaboration while maintaining ultimate oversight over your automated domain.

How to Share Tuya Smart Devices with Family & Friends: Easy Guide
Navigate directly to the “Share” or “Members” tab within your ecosystem’s application (like Smart Life or Tuya).
Initiate the process by selecting “Add Member” and entering the email address or phone number of your intended recipient. This action dispatches an electronic invitation, granting them entry to your connected environment.
Critically, define authorization levels for each individual. For permanent household members, assign “Full Control” to allow device adjustments and scene creation. For temporary guests, select “View Only” or restrict permissions to specific appliances, like a single TNCE Tuya Smart Socket WiFi or Zigbee3.0 Plug or a Lepro LED Strip.

Revoke privileges instantly via the same management panel; this is essential after a guest’s departure or to change household dynamics. For streamlined domestic administration, create a “Home” group where all authorized users can collectively manage a Moe’s Home Thermostat or a BlitzWolf Security Camera.
Always verify that the connected gadgets, such as a Meross Garage Opener, support the delegation feature within the app’s specifications before attempting to send an invitation.

Getting Started: Preparing Your Tuya Devices for Sharing
First, ensure all your connected appliances, like the Gosund Mini Plug or a Moe’s Home LED Strip from AliExpress, are online and correctly named (e.g., “Porch Light,” “Coffee Maker”).
Open the companion application and navigate to the management section for your household. Create a distinct home profile, such as “Lake Cabin” or “Main Residence,” to logically group items for control delegation.
Audit each product’s capabilities. A smart lock may require different permissions than a simple bulb. Decide if guests should only toggle power or also set scenes and schedules.
Update all firmware; an outdated gateway from brands like BlitzWolf can block authorization features. This step is critical for sending a valid invitation later.
Finally, designate a primary administrator account. This centralizes access provisioning and ensures you can revoke it seamlessly from a single interface.
Checking Device and App Compatibility
First, verify that your connected appliances, like a Merkur Innovation WiFi plug or a LSC Smart Ceiling Light from AliExpress, operate on the same ecosystem. Open your primary control application (e.g., Smart Life) and navigate to the device’s settings to confirm it supports authorization features.
Ensure all members of your household or intended guests install the correct companion software. The brand-specific app used for setup is mandatory; a user with only the “Tuya Smart” app cannot accept an invitation for a gadget managed in “Smart Life. This step is critical for seamless access.
Review the permissions hierarchy before sending an invite. Some gadgets, like smart locks, may only allow temporary control, while a simple bulb often permits full management. This pre-check prevents confusion and ensures you grant the appropriate level of device authorization.
Understanding User Roles: Owner vs. Member
Immediately define roles when sending an invitation. The Owner retains full administrative control, while a Member operates within set permissions.
The account creator is the permanent Owner. This role can add or remove any user, manage all authorization levels, and edit device settings. For instance, the Owner of a household set of TNCE Tuya Smart Socket WiFi or Zigbee3.0 Plug can revoke access at any time.

A Member has functional but limited control. Their permissions are typically restricted to turning devices on/off or adjusting settings, but not deleting them or managing users. A Member invited to use a LSC Smart Ceiling Light from AliExpress cannot factory reset it.
Assign the Member role for most guests and regular household users. This prevents accidental changes to scenes or device removal. For temporary access, like for a house sitter, use this role for devices such as a ThermoPro TP929 smart thermostat.
Effective management hinges on this distinction. The Owner delegates daily control while maintaining ultimate administrative authorization over the entire connected ecosystem.
Creating a Shared Home in the Tuya App
Begin by launching your ecosystem’s application and navigating to the ‘Home’ tab, then tap the ‘+’ icon or ‘Create Home’ to establish a new, collaborative space.
Name this space descriptively, like “Lake House” or “Main Apartment,” to differentiate it from your personal setup. This becomes the central hub where all authorized users interact with connected products.
Move your relevant appliances into this communal home. For instance, transfer the TNCE Tuya Smart Socket WiFi or Zigbee3.0 Plug controlling the living room lamp and the LSC Smart Ceiling Light from your default list into the new shared home for centralized management.

Define user roles meticulously during the invitation process. Grant full administrative permissions to trusted household members, while assigning restricted ‘guest’ access to temporary visitors, limiting their control to specific gadgets like the front door lock or a single thermostat.
Send an electronic invitation directly through the platform; recipients must accept to gain entry. This method ensures secure, revocable access without disclosing your primary account credentials.
Utilize the home management settings to audit and adjust permissions at any time. You can see which users have authority over the ThermoPro hygrometer or revoke a guest’s ability to alter scenes.
This structure provides a clear hierarchy, preventing confusion and maintaining security while distributing operational control across your trusted circle.
Step-by-Step Guide to Inviting Family Members
Open the household you created and navigate to the Member Management section within the app’s settings.
Tap “Add Member” and enter the exact email address or mobile number associated with their account for this platform.
Select a role: choose Member for full control over gadgets like the TNCE Tuya Smart Socket WiFi or Zigbee3.0 Plug or LSC Smart Ceiling Light, or Guest for limited access, ideal for temporary visitors.
Customize permissions precisely before sending; you can restrict control of specific items, such as a front door lock or a security camera from brands like BlitzWolf.
Dispatch the electronic invitation. The recipient must accept it through their own application to gain entry.
Manage all authorizations later; you can elevate a guest to member status, adjust their rights, or revoke their entry entirely at any moment.
Adding Users via Phone Number or Email
Initiate user addition directly from the appliance’s management screen. For a Merkury Innovations Wi-Fi Plug or a Gosund Smart Bulb, tap the settings icon (⋮) or the “Share” button on its control panel.
Select the method: Phone Number for immediate delivery or Email for a formal invitation link. The system dispatches an authorization request containing a secure link to install or open the companion application.
Critical configuration occurs next. Define precise permissions before sending the invite:
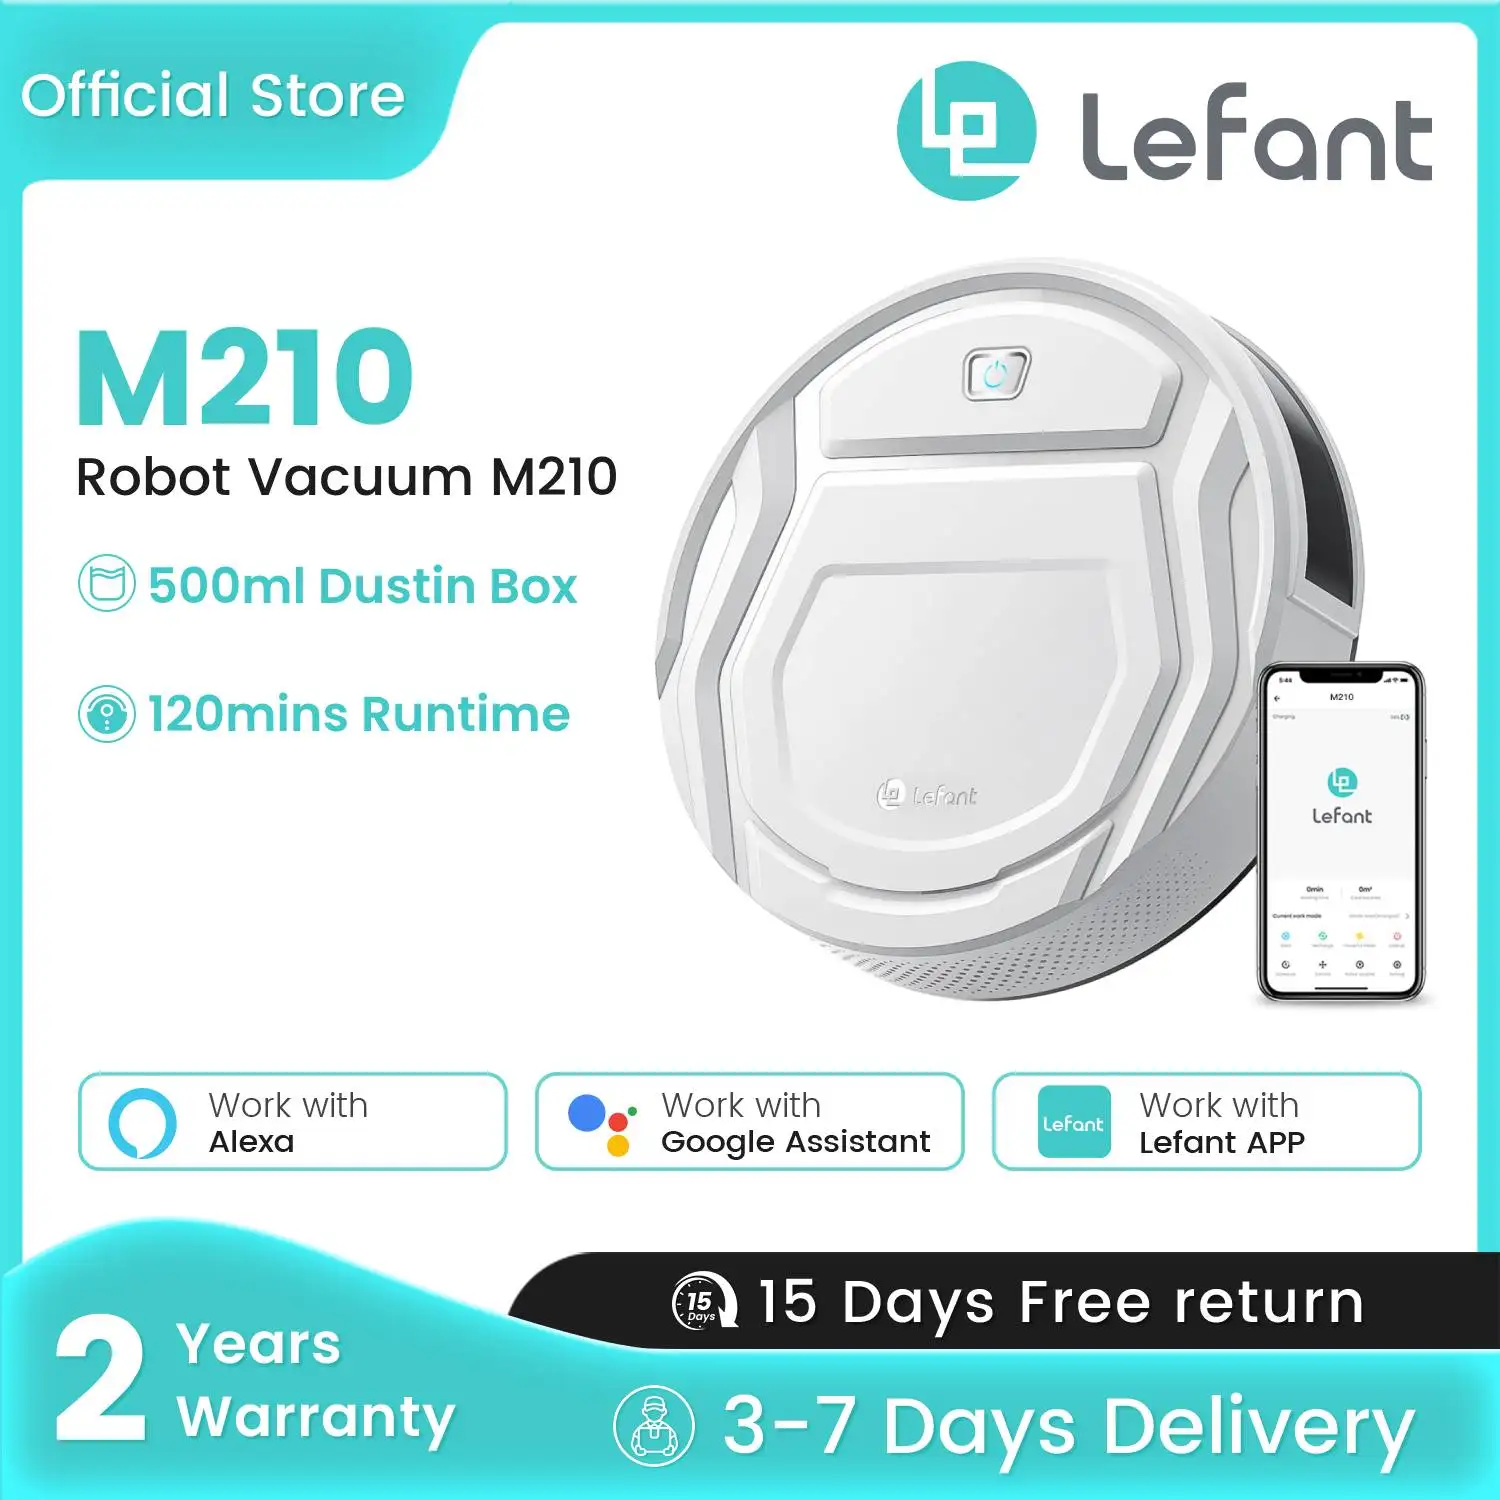
- Basic Control: Allows turning a Lefant M210 Robot Vacuum on/off or adjusting a Teckin Smart Strip.
- Advanced Management: Grants permission to edit schedules for a Sonoff Thermostat or change scenes.
- Administrator Rights: Provides full authority to add other members or remove the gadget from the home.
For temporary access, utilize the “Guests” role. This is ideal for house sitters needing temporary authority over a Bseib Smart Lock or cleaning services requiring limited-time access to lights. Set an expiration date–one day, one week, or custom–after which permissions automatically revoke.

Post-invitation, monitor and adjust assignments from the home management section. You can elevate a guest to a permanent member, restrict their control over specific appliances like a MoesGo Irrigation Timer, or remove their access entirely without affecting the primary setup.
Question-Answer:
I set up all the smart devices in our home. Can I let my spouse control them without giving them my full Tuya account password?
Yes, you can. Tuya has a specific “Share Device” feature for this. Open the Tuya Smart app, go to the device you want to share, tap the settings icon (usually three dots or a gear), and look for “Share Device” or “Device Sharing.” You will be prompted to enter the recipient’s Tuya account (their registered email or phone number). You can share individual devices or entire rooms. Once accepted, they will see and control the shared devices in their own app without any access to your account settings, password, or other personal devices.
My friend accepted my device share, but they can’t turn the lights on. What went wrong?
The most common cause is that the shared device is offline or not connected to your home Wi-Fi. Ask your friend to check their internet connection first. If the device is online for you, the issue might be permissions. When sharing, Tuya sometimes allows you to set permissions. Verify if you granted “Control” permission and not just “View.” Your friend should also force-close and reopen their Tuya app. If it persists, remove the share and try sharing the device again, ensuring all permissions are enabled.
Is there a time limit or a way to take back access after sharing a device?
No, there is no automatic time limit. You retain full ownership and can remove access at any time. To revoke access, go to the “Share” or “Device Sharing” section in your Tuya app (often found under “Me” or “Profile”). You will see a list of people you’ve shared with. Select the person and choose “Remove Sharing” or “Revoke Access.” The device will immediately disappear from their app. This does not reset or affect your device’s settings.
I’m housesitting for my parents. Can I get temporary access to their smart lock without permanently sharing it?
While the Tuya app doesn’t have a built-in “temporary schedule” for sharing, you can manually achieve this. Your parents should share the lock with you using the standard method. Then, once your housesitting period is over, they should immediately revoke the share as described in the previous answer. For a more secure approach, they could consider changing the lock’s temporary passcode (if the lock model supports that feature) instead of sharing full app control, which is often better for one-time access.
