


Setting up a smart home with the Tuya app is one of the easiest ways to bring automation, remote control, and energy efficiency into your daily life. The Tuya platform supports thousands of smart devices—from lighting and plugs to cameras and sensors—allowing you to manage your entire smart home from a single, intuitive app. Whether you’re a beginner or expanding an existing setup, Tuya makes smart home integration simple and scalable.
Table Of Content
- Getting Started: Initial Setup and Account Creation
- Downloading the App and Creating a Tuya Account
- Connecting Your First Device: The Pairing Process
- Organizing Devices by Room and Creating Groups
- Core App Features for Daily Device Management
- Using the Main Dashboard for Quick Control
- Setting Up Schedules and Timer Automations
- Question-Answer
- Is the Tuya app free to use, and what are the costs involved in setting up a smart home with it?
- I have devices from different brands. Will they all work in the Tuya app or do I need one specific brand?
- How do I connect a new smart device to the Tuya app for the first time?
- Can I control my Tuya smart home when I’m away from my house?
- What are ‘Scenes’ and ‘Automations’ in the Tuya app and how are they different?
- I just bought a smart plug that says it works with Tuya. What exactly is the Tuya App, and is it just for that one device?
- Download Smart Life or Tuya Smart and create an account to sync devices and enable cloud-based remote control.
- Put devices in pairing mode, connect to 2.4GHz Wi-Fi, and follow in-app prompts to add and register gadgets.
- Name devices clearly and assign rooms or groups for efficient voice control, scenes, and automation triggers.
- Use Scenes for manual multi-device actions and Automations for rule-based, conditional routines like sensor-triggered events.
- Verify "Works with Tuya" compatibility before purchase; cross-brand integration enables broad interoperability across devices.
In this guide, we’ll walk you through Smart Home with the Tuya App setup, covering device pairing, Wi-Fi configuration, room organization, and automation basics. By following a few straightforward steps, you can quickly create a reliable smart home ecosystem that works seamlessly with voice assistants and adapts to your lifestyle.


Begin by downloading this essential management tool from your device’s official store. It serves as the central command point for a vast array of affordable, Wi-Fi-enabled gadgets, from robotic vacuums and LED strip lights found on AliExpress to smart plugs and security cameras popular on Amazon. Its core function is to unify disparate products under a single, intuitive interface.
Initial setup is streamlined: power on your new device, activate its pairing mode, and follow the in-app instructions to connect it to your local network. This process simultaneously registers the gadget on the secure cloud platform, enabling remote control from anywhere. The true power, however, lies in creating automation routines. For instance, you can program a smart plug holding a coffee maker to switch on at 7 AM, or set motion-sensing bulbs to illuminate when a linked camera detects activity.
Wide-ranging compatibility is this system’s greatest asset. It supports thousands of products across dozens of brands that utilize the same underlying protocol. This means a climate sensor from one manufacturer can trigger a panel heater from another. For reliable integration, prioritize items explicitly labeled as “Works with” the application or mention the platform by name in their product listings on major retail sites.
Getting Started: Initial Setup and Account Creation
Download the official application from your device’s store before unboxing any gadgets.
Launch the program and select ‘Sign Up,’ using an email address or phone number for registration; this account is your central hub for all connected gear.
Verify your profile via the received code, then log into your newly created dashboard.
To add your first product, ensure it is powered on and in pairing mode (typically indicated by a rapid blinking LED). Tap the ‘+’ icon within the application and select the appropriate category, such as ‘Lighting’ or ‘Sockets.’ The system will automatically search for discoverable equipment.
| Product Example (Amazon) | Key Action During Configuration |
|---|---|
| Gosund Mini Wi-Fi Outlet | Press and hold the physical button on the unit until its indicator flashes. |
| Teckin Smart LED Bulb | Turn the light fixture off and on three times in succession to initiate network mode. |
Connect your handheld device to a 2.4GHz wireless network; most affordable IoT commodities, like the LSC Smart Connect WiFi Plug from AliExpress, do not support 5GHz bands. The platform will prompt you to enter your local network credentials to establish a secure link between the hardware and your router.
Assign a clear name (e.g., “Bedroom Lamp”) and logical room location to each item for efficient voice command and scene management later. Finalize by saving the configuration to your personal cloud space; this syncs your setup across multiple user devices and enables remote access.
Confirm compatibility by checking the product packaging or listing for phrases like “Works with Smart Life” or “Powered by Tuya”–this signifies it utilizes the same underlying ecosystem. Successful integration is confirmed when you can toggle the gadget’s state from the application’s main screen.
Downloading the App and Creating a Tuya Account
Install the application named Smart Life or Tuya Smart from your device’s official store; both utilize the identical cloud infrastructure for device management.
Launch the application and tap Sign Up, utilizing an email address or phone number for registration. This account serves as your universal key, syncing configurations across devices via the platform’s cloud.
Verify your registration through the received code. This crucial step secures your ecosystem, ensuring all automation rules and schedules are preserved remotely.
Prior to purchasing gadgets, confirm compatibility by checking for “Works with Smart Life” or “Tuya” in listings. Popular options include Gosund smart plugs on Amazon and Moe’s brand LED strips on AliExpress, which integrate seamlessly.
Your account is now the central command point, ready to add and orchestrate diverse IoT products from a single interface, eliminating the need for multiple, disparate applications.
Connecting Your First Device: The Pairing Process
Ensure your new gadget, like a Mingxing smart bulb or a LSC smart plug from AliExpress, is powered on and in its pairing mode–typically indicated by a rapidly blinking light.
Open your management application and tap the ‘+’ icon. Select the appropriate category, for instance, Lighting or Sockets. The software will prompt you to confirm the indicator’s blink pattern.
Connect your mobile to the temporary Wi-Fi network broadcast by the appliance. This critical step establishes a direct link to input your home network credentials securely.
After reconnecting to your local Wi-Fi, the automation platform finalizes the link. Your gadget, such as a Gosund power strip from Amazon, will now appear in the dashboard, ready for remote control.
Assign the unit to a room and rename it descriptively, like “Bedroom Lamp,” for efficient voice control and scene creation. Successful addition means your IoT product is now registered on the cloud platform.
If linking fails, reset the hardware, verify your 2.4GHz Wi-Fi band is active, and ensure your phone’s Bluetooth is enabled, as it often aids the setup for many devices.
Organizing Devices by Room and Creating Groups
Immediately assign each connected gadget to a specific room during the initial pairing process. This foundational step transforms a chaotic list of gadgets into a manageable, spatial layout. For instance, place your Gosund smart plug from Amazon in “Living Room” and an Ajax LED strip from AliExpress in “Bedroom.
Leverage the Groups function for multi-device command. Create a cluster named “Morning Scene” that simultaneously activates lights from Yeelight and a coffee machine connected via a compatible socket. This grouping is essential for advanced automation, allowing single-command control over disparate products.
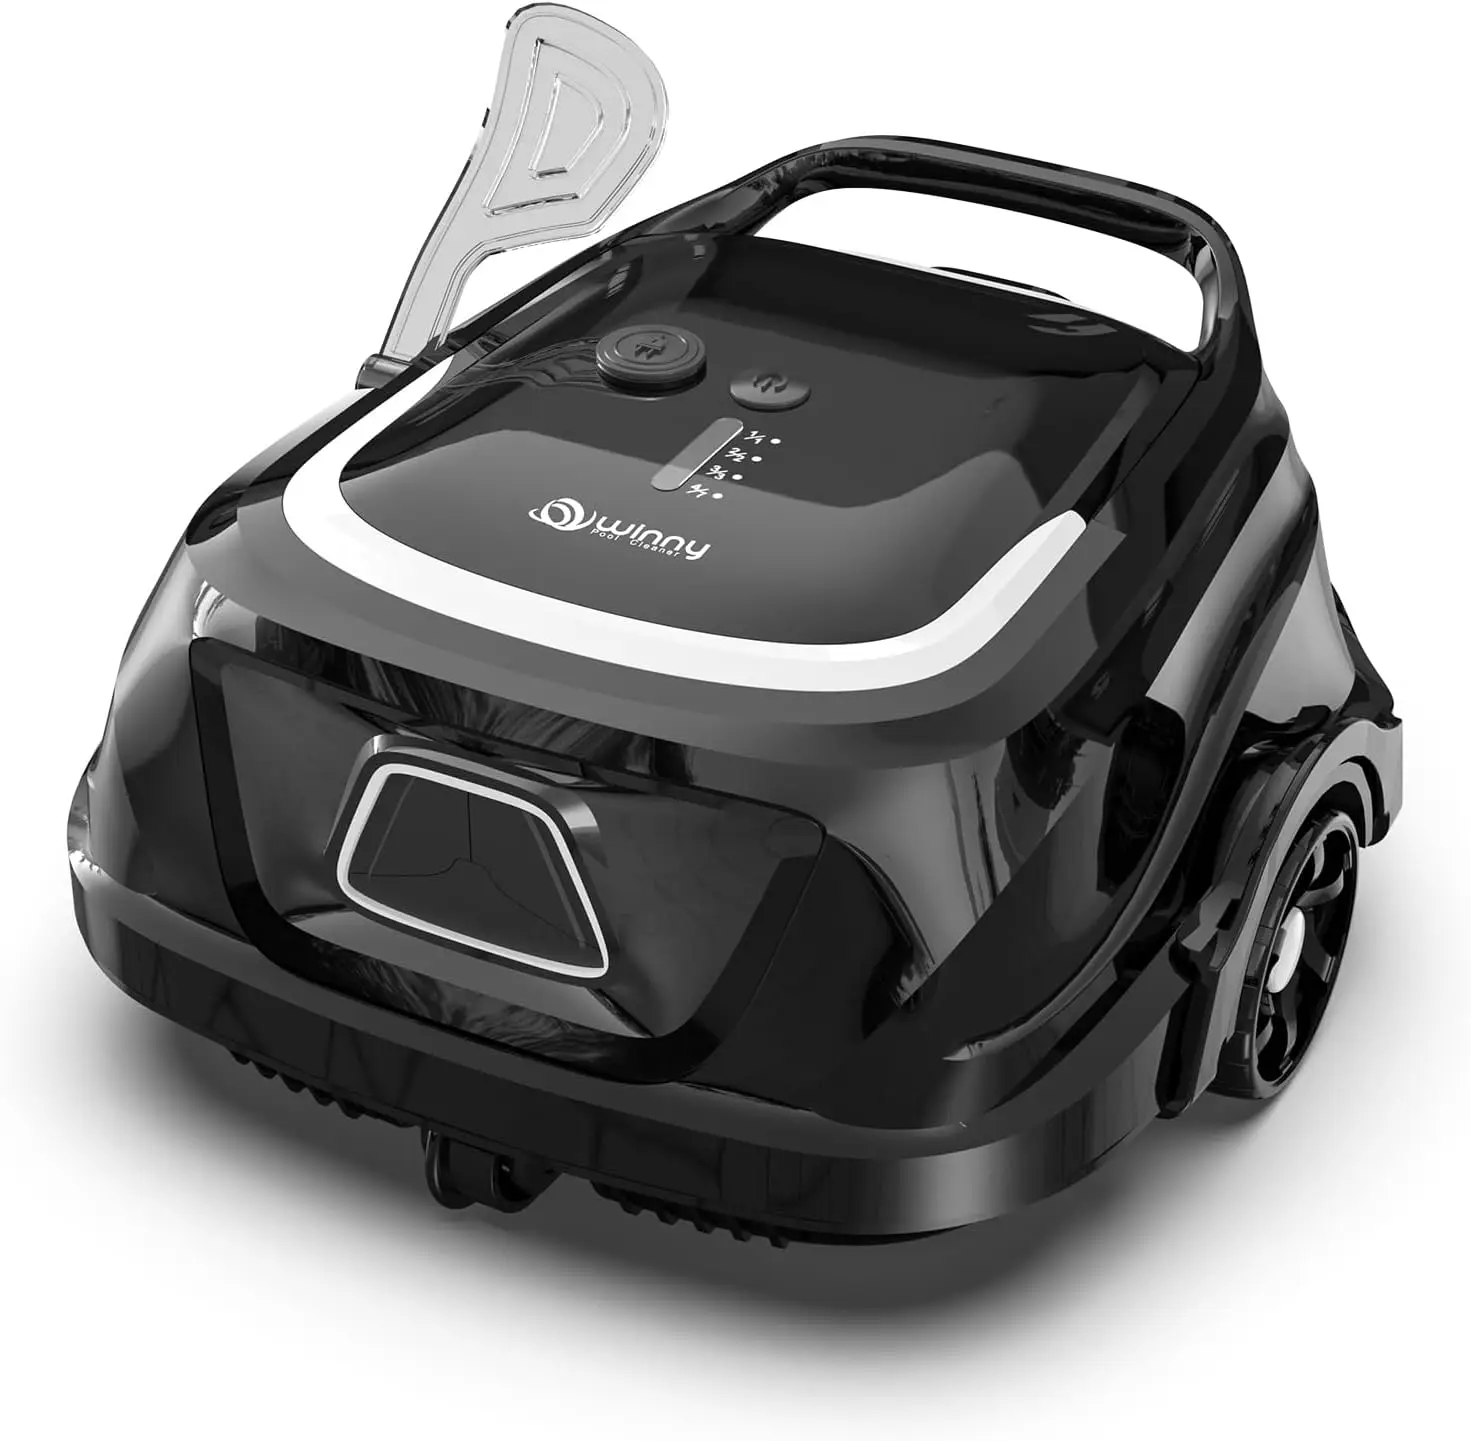
Verify compatibility before grouping; ensure all items operate on the same protocol (e.g., Wi-Fi or Zigbee) within this ecosystem. A robot vacuum from Eufy and a smart ceiling fan can coexist in a “Clean & Cool” cluster only if properly integrated through the cloud.
Utilize room and group structures as triggers for automated routines. An automation can be set so that motion detected by a Tuya-based sensor turns on every illuminator in that specific “Hallway” group. This logical organization is the backbone of an efficient IoT ecosystem, moving beyond basic remote access to intelligent, context-aware management.
Core App Features for Daily Device Management
Master daily operations by utilizing the dashboard’s widget-style interface for instant access to frequently used gadgets like Gosund smart plugs or LSC Smart Connect ceiling lights.
Key functionalities for streamlined oversight include:
- Centralized Command Hub: Adjust all connected electronics from a single screen, eliminating the need to open individual product applications.
- Automation & Scene Creation: Build custom routines triggered by time, device status, or sensor data. Example: “Good Morning” scene that gradually brightens compatible Yeelight bulbs and switches on a Matein coffee maker.
- Remote Access & Cloud Connectivity: Manage your ecosystem from anywhere, using the cloud bridge to check if a Gosund camera is on or power down a forgotten heater.
- Cross-Device Interoperability: Leverage the platform’s broad compatibility to create interactions between different brands, like having a MoesHouse sensor trigger an action for a Lenovo smart bulb.
- Energy Monitoring: View real-time and historical power consumption for supported devices, such as smart plugs from BlitzWolf, to identify energy-hungry appliances.

For advanced configuration, dive into device-specific settings to calibrate motion sensor sensitivity or create complex automation chains using “IFTTT”-style logic within the application.
Ensure your IoT ecosystem remains efficient by regularly reviewing and optimizing automated routines based on usage patterns and newly added hardware.
Using the Main Dashboard for Quick Control
Immediately customize your dashboard after setup by long-pressing any widget to enter edit mode. Drag frequently used devices, like a Gosund smart plug from Amazon or a LSC WiFi ceiling light from AliExpress, to the top for instant access.
Leverage the platform’s widget system to create a personalized control panel. Add compact switches for individual devices or larger tiles for grouped automation scenes, such as “Good Morning” to activate lights and a coffee maker.
Check compatibility directly from the dashboard; icons for offline devices are typically greyed out, indicating a local network or cloud connection issue. This visual status allows for rapid troubleshooting of your IoT ecosystem.
Execute multi-device commands without navigating to separate menus. A single tap on a “Movie Night” dashboard tile can dim your Teckin LED strips and power on a compatible smart projector simultaneously.
Sync your dashboard layout across mobile and tablet versions of the platform. Changes made on one device are reflected via the cloud to others, ensuring a consistent control interface regardless of your physical location.
Setting Up Schedules and Timer Automations
Begin by selecting any compatible gadget, like a Gosund smart plug from Amazon or a Moes thermostat from AliExpress, and tap its card to access its dedicated control panel.
Locate the “Schedule” or “Timer” icon–often represented by a clock. This feature leverages cloud computing to execute commands even when your phone is offline.
Follow this precise sequence to build a reliable routine:
- Choose between a one-time timer or a recurring schedule for daily, weekday, or weekend patterns.
- Set the exact time for the action. For a Lonsonho LED strip, you might program a sunrise simulation at 6:45 AM.
- Define the desired state: power on, off, or a specific scene like changing light color.
- Finalize by saving the automation; it will sync across all your linked devices via the platform.
Maximize efficiency with these advanced tactics:
- Create inter-device sequences: a schedule turning on a BlitzWolf smart bulb can simultaneously activate a compatible WiFi air purifier.
- Use sunset/sunrise based on your geographical location for exterior lighting control with products like the Litokam outdoor socket.
- Implement delay-off timers for bathroom fans or humidifiers to ensure they run for a set period after you leave.
Cross-check device compatibility before planning complex scenes; not all IoT units support conditional triggers. For robust whole-house automation, explore the “Smart Scene” section, which allows creating if-this-then-that rules beyond simple time-based commands.
Your configured automations reside securely in the cloud, enabling consistent operation and remote management from any location, transforming individual gadgets into a coordinated ecosystem.
Question-Answer:
Is the Tuya app free to use, and what are the costs involved in setting up a smart home with it?
The Tuya mobile application itself is completely free to download and use. There are no subscription fees for the core service that allows you to connect and control devices. The primary cost comes from purchasing the compatible hardware. You will need to buy Tuya-enabled smart devices like bulbs, plugs, or cameras from various manufacturers. These are often very affordable. Some advanced features within certain device brands, like cloud video storage for cameras, may require a separate paid plan, but basic local control through the app typically remains free.
I have devices from different brands. Will they all work in the Tuya app or do I need one specific brand?
Yes, the Tuya app is designed to work with a wide range of brands. Tuya is primarily a technology platform that many manufacturers use. Devices from companies like Mirabella, Lumary, and countless others on Amazon often use Tuya’s system inside. As long as the device packaging or description mentions compatibility with the “Tuya” or “Smart Life” app, you can control it all from one place. You don’t need to stick to a single brand, which makes building your system very flexible.
How do I connect a new smart device to the Tuya app for the first time?
Connecting a device follows a standard process. First, install the device physically (like screwing in a bulb or plugging in a socket). Ensure your phone is connected to your 2.4GHz Wi-Fi network. Open the Tuya app, tap the ‘+’ icon to add a device, and select the category. The app will then guide you to put the device into pairing mode, usually by turning it on and off a specific number of times. You’ll then select your home Wi-Fi network and enter the password. The app will find the device and add it to your home screen, ready for naming and use.
Can I control my Tuya smart home when I’m away from my house?
You can control your devices remotely as long as they are connected to the internet. This requires your central hub or each individual device to maintain a connection to your home Wi-Fi. With an active internet connection at home, you can use the Tuya app on your phone from anywhere to turn devices on or off, check camera feeds, or run automations. If your home internet goes down, remote control and some automations will not function until the connection is restored.
What are ‘Scenes’ and ‘Automations’ in the Tuya app and how are they different?
Scenes and Automations are both tools for controlling multiple devices at once, but they work differently. A Scene is a manual trigger. You create a setting like “Movie Night” that dims the lights and turns on the TV plug. You tap the Scene button in the app or use a voice command to activate it. An Automation is rules-based and happens by itself. You set a condition, like “When the front door sensor opens after sunset,” and an action, like “turn on the hallway light.” The app performs the action automatically when it detects the condition, without you needing to press anything.
I just bought a smart plug that says it works with Tuya. What exactly is the Tuya App, and is it just for that one device?
The Tuya App is a central control application for smart home devices. Think of it as a universal remote, but for many different brands and types of gadgets. While you downloaded it for your smart plug, its main function is to manage a whole ecosystem. Many manufacturers use Tuya’s technology inside their products, so devices like lights, cameras, sensors, and switches from various companies can all be operated from this single app. You’re not limited to one device; you can add dozens of different compatible products to create a connected home, set up automation routines, and control everything from one place.
