


Begin by ensuring your gadget is in pairing mode; this often involves holding a physical button until an LED indicator flashes rapidly. For many smart home products, like the popular Merkury Innovations Wi-Fi Plug from Walmart or a Teckin Smart Bulb from AliExpress, this is the critical first handshake before the app can discover it.
Launch the Tuya application and tap the ‘+’ icon. The platform will typically prompt you to select a category. Your next action depends on the gadget’s connectivity: for Wi-Fi items, you’ll directly enter your 2.4GHz network credentials. For Bluetooth or Zigbee items, like the SONOFF Zigbee Temperature Sensor from Amazon, you must have a compatible gateway powered on and linked to your account, as these protocols require a local bridge to communicate with the cloud.
Follow the on-screen instructions precisely. You will often be asked to scan a QR code found on the product or its manual; this code contains the specific setup protocol. Keep your phone close to the gadget during this process, especially for Bluetooth-based pairing, to ensure a stable signal.
Once successfully registered, rename your gadget for easy voice control and assign it to a room. Immediately explore the automation tab to create powerful routines–for instance, setting a smart home bulb from AliExpress to turn on at sunset, or linking a smart plug to a door sensor. This transforms individual components into a coordinated, intelligent system.
Preparing Your Device and Environment for Setup
Verify that your new gadget, like a Gosund smart plug or a LSC Smart Connect ceiling light, is in a factory reset state, typically indicated by a rapidly blinking LED.
Position the hardware within 3-5 feet of your 2.4GHz wifi router during the initial pairing process to ensure a strong signal, avoiding physical obstructions and nearby electronics like microwaves or cordless phones.
For ecosystems utilizing a central hub, such as the Moes Zigbee gateway or a Tuya-based hub from brands like BlitzWolf, ensure this bridge is powered on and connected to your network before attempting to link end devices like sensors or remotes.
Disable any VPN services on your mobile phone and temporarily pause cellular data, forcing the configuration to occur solely through your local Wi-Fi network for a reliable connection to the cloud platform.
Scan the product’s QR code, usually found on the device or its manual, with your phone’s camera to quickly access the correct pairing instructions within the companion application, bypassing manual model searches.
Review the specific quick-start guide for your item; procedures differ between a simple Wi-Fi smart bulb and a complex climate sensor that requires a gateway for full automation capabilities.
Ensure your smartphone’s Bluetooth is active, as many products, including Teckin cameras and Nesin smart switches, use a Bluetooth-assisted method for the initial network provisioning to streamline the process.
Confirm your wireless network password is readily available and entered correctly, noting case sensitivity, as this is the most common point of failure in the enrollment sequence for your connected ecosystem.
Checking device compatibility and requirements
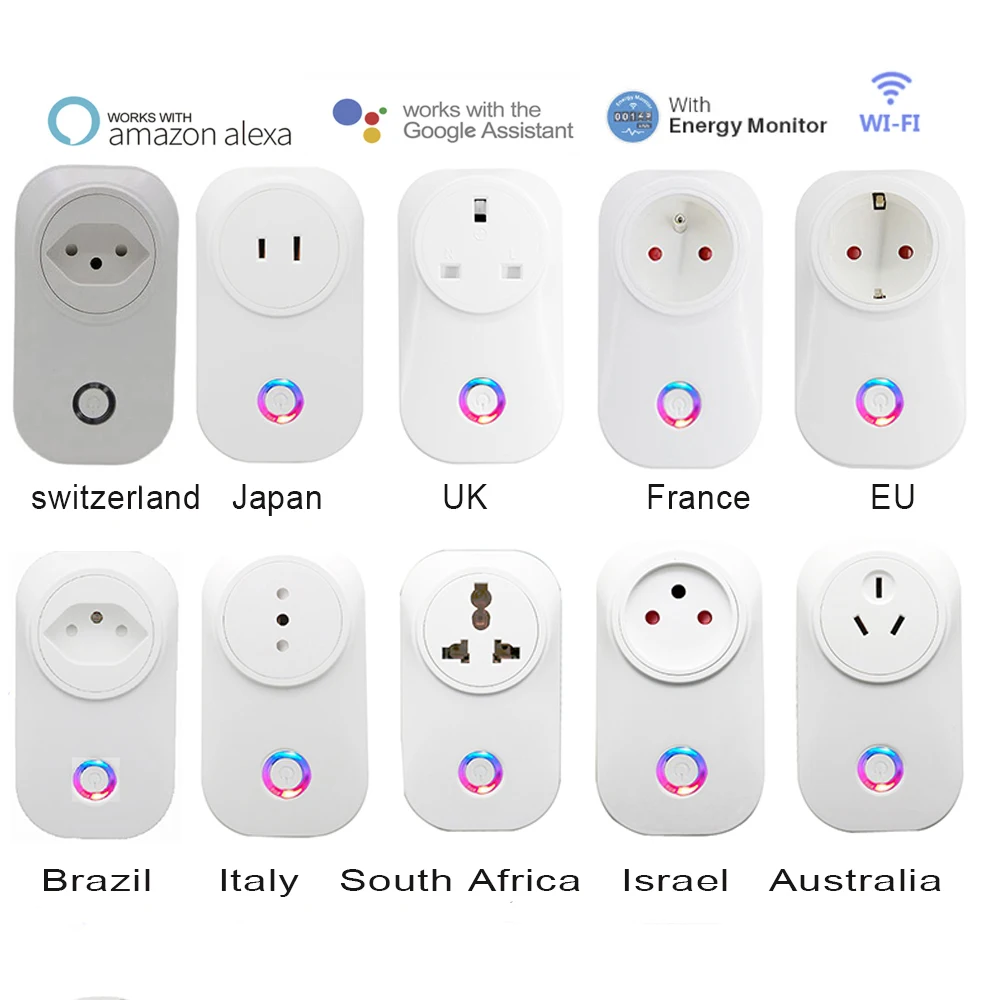
First, verify the product’s packaging or listing on platforms like Amazon or AliExpress explicitly states “Works with Tuya” or “Smart Life. Many smart plugs, light bulbs, and sensors use this platform.
Identify the connectivity type, as this dictates your network needs:
- Wi-Fi: The gadget connects directly to your 2.4GHz network. Ensure your router broadcasts this band separately.
- Zigbee or Bluetooth Mesh: Products like the Lonsonho Zigbee sensors require a compatible gateway (hub) to bridge to your network and the cloud.
Confirm the supported control application. While the Tuya app is primary, many products also function in the “Smart Life” app, which uses identical infrastructure.
Before unboxing, gather these essentials for a smooth configuration:
- Your 2.4GHz Wi-Fi name and password.
- The physical product, powered on and in pairing mode (usually indicated by a flashing LED).
- The smartphone with the application installed and location services enabled.
Always scan the provided QR code or use the manual “Add” function within the application, following the on-screen instructions precisely. This step is critical for linking the hardware to your account. Failure here prevents advanced automation and remote management.
Note: Some older or region-specific gadgets may require a different server region setting in the application’s profile menu for successful connection.
Ensuring your phone’s Bluetooth and location services are on
Enable both Bluetooth and Location (GPS) services in your phone’s quick settings or system preferences before initiating the pairing process.
Bluetooth is essential for the initial handshake with gadgets like smart bulbs from Philips WiZ or sensors from Aqara, while Location permissions are required by Android and iOS to scan for nearby Wi-Fi networks and Bluetooth accessories, a critical step for network configuration.
For products like the Gosund Smart Plug from Amazon or a Moes Thermostat from AliExpress, the mobile application needs these services active to read the unique qr code, transmit your local wifi credentials securely to the gadget, and register it with the cloud platform.
If a gateway like a Zigbee hub is involved, your phone uses Bluetooth to discover it, following the in-app instructions to bridge the connection for subsequent automation rules.
Failure to activate Location often results in a failed network discovery phase, stalling the entire procedure despite a successful Bluetooth pairing.
Connecting your phone to the correct 2.4 GHz Wi-Fi network
First, verify your mobile is on the required 2.4 GHz band. Many modern routers broadcast a single network name (SSID) for both 2.4 GHz and 5 GHz bands, which can cause connection failures. Access your router’s configuration page–often via 192.168.1.1 in a browser–and temporarily create a dedicated 2.4 GHz network with a distinct name like “Home_Network_2.4GHz”.
Connect your phone to this new network before initiating the pairing process for products like the Gosund Smart Plug from Amazon or the LSC Smart WiFi Ceiling Light from AliExpress. This step is non-negotiable for most affordable smarthome gadgets as they lack 5 GHz radios. Disable any active VPN on your phone, as it can interfere with local network discovery.
If your automation ecosystem uses a gateway–like one for Aqara sensors–ensure your phone is on the same 2.4 GHz network as that hub. The initial bluetooth discovery happens locally, but final wifi provisioning and linking to the cloud service rely entirely on this correct network configuration. Follow the in-app instructions precisely only after this network precondition is met.
Powering on your new smart device and confirming indicator light status
Plug your gadget, like a Gosund smart plug or a LSC WiFi curtain motor, into a power source. A steady or slowly blinking light, often blue or green, typically signals it’s in pairing mode and awaiting configuration.

Consult the manual for your specific model; a Yeelight LED bulb may flash rapidly, while a Moes thermostat might show a solid red. An unresponsive or erratically flashing indicator often requires a hard reset using the physical button for five seconds.
This status light is your primary visual cue that the unit is ready for network discovery via bluetooth or direct wifi broadcast. Correct interpretation is crucial before scanning the qr code in the application.
For hubs like the Zemismart gateway, ensure its indicator is stable, confirming it’s powered and linked to your router, as it acts as the bridge to the cloud for subsequent automation rules.
Navigating the Tuya App to Start the Pairing Process
Launch the application and tap the ‘+’ icon, typically located in the top-right corner of the main screen.
Select the ‘Add Device’ option, then choose the appropriate product category, such as ‘Lighting’ for a bulb or ‘Sockets & Switches’ for a smart plug.
For products requiring a central hub, like the MoesGo Zigbee sensors from AliExpress, ensure your gateway is powered and connected to the network before this stage.
| Common Product Type | Key Action in App | Note |
|---|---|---|
| Wi-Fi Smart Bulb (e.g., Teckin) | Confirm indicator light is in rapid blink mode. | The application will prompt for your wifi credentials. |
| Bluetooth Mesh Device | Keep your phone very close to the product. | Bluetooth must be active; no 2.4GHz network password needed initially. |
| Zigbee Device (e.g., SONOFF sensor) | Select ‘Add via Gateway’ and follow the specific sub-menu. | Pairing is done through the hub, not directly to the router. |
Enable both ‘Bluetooth’ and ‘Location’ permissions when the platform requests them; this is essential for the software to discover nearby hardware.
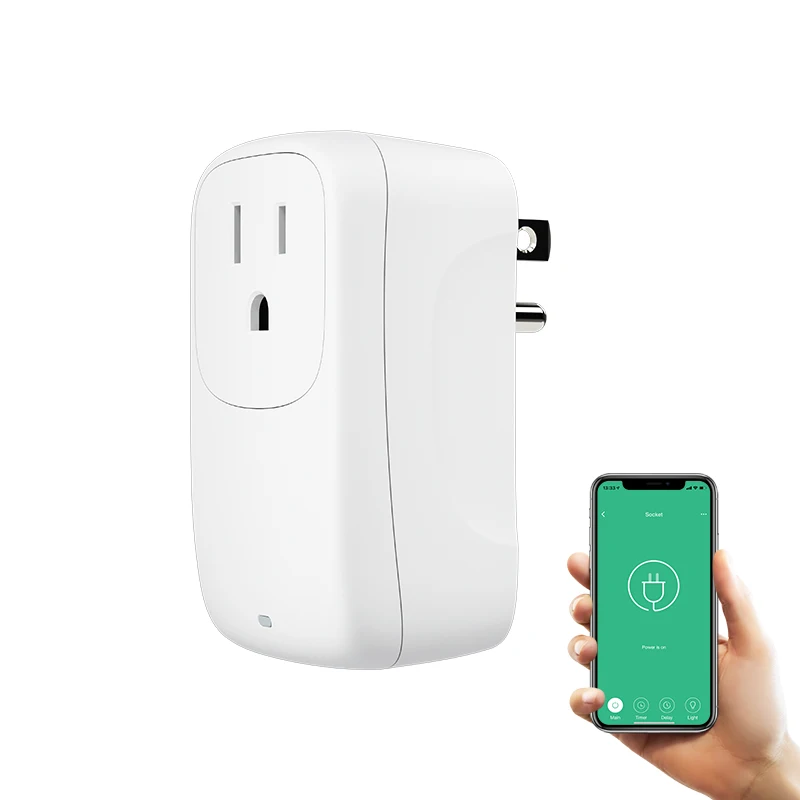
Follow the on-screen instructions precisely. For a Gosund smart plug from Amazon, this typically involves entering your 2.4 GHz wifi password directly into the application’s prompt.
If the connection fails, do not exit the screen. Instead, check the LED pattern on your hardware against the manual’s pairing instructions and retry within the same process.
Locating the “+” or “Add Device” button in the app
Open your smarthome platform’s interface and look for the primary action symbol on the main screen. Typically, a prominent circular icon with a plus sign resides in the upper right corner of the “Home” or “My Home” tab.
If the central symbol isn’t immediately visible, tap the “Home” tab at the bottom of the screen to reset your view. Some versions place the initiation control for new gear, like a Gosund smart plug from Amazon or a LSC WiFi ceiling light from AliExpress, within a floating button at the screen’s bottom center.

Alternatively, navigate to the “Me” or “Profile” section in the lower right, then select “My Products” or “Device Management” to find a dedicated “New” or “Create” option for beginning the configuration.
For a streamlined process, ensure you are within the correct virtual household space if you manage multiple locations; the pairing trigger is specific to each selected home environment.
Question-Answer:
My device won’t connect to Wi-Fi during setup. The light is blinking fast. What should I do?
This is a common issue. First, ensure your phone is connected to a 2.4 GHz Wi-Fi network. Most smart home devices cannot use 5 GHz. Restart your router and the device by unplugging it for 10 seconds. Move the device closer to your router during setup. If the light blinks fast then turns off, reset the device by holding the power button for 5-10 seconds until you hear a beep or the light flashes differently, then try the setup process in the Tuya app again from the beginning.
Can I use the Tuya app without creating an account?
No, you cannot use the core functions without an account. A Tuya account is required to save your device configuration, allow remote control when you’re not home, and receive firmware updates. You can use an email address or a phone number to register. The account links your devices to the cloud, which is how you can control them from anywhere.
I have a device from a different brand. Will it work with the Tuya app?
It might, if the device is “Tuya-enabled” or uses the “Smart Life” ecosystem. Check the device’s packaging or manual for compatibility with Tuya or Smart Life. Many manufacturers use Tuya’s technology inside their products. When adding the device in the app, select the correct category (like “Lighting” or “Sockets”) and try scanning for it. If it appears, it will work. If it’s a completely different ecosystem like Philips Hue or Kasa, you will need its own dedicated app.
What does the “AP Mode” or “EZ Mode” choice mean when adding a device?
These are two connection methods. EZ Mode is the standard and easiest way. Your phone sends the Wi-Fi details directly to the device. Use this first. If EZ Mode fails repeatedly, switch to AP Mode. This makes the device create its own temporary Wi-Fi network. You’ll leave your home Wi-Fi, connect your phone to this device’s network through your phone’s settings, then return to the Tuya app to finish setup. The app will guide you through this if EZ Mode doesn’t work.
After adding a device, can I control it with my voice through Alexa or Google Assistant?
Yes, but you need to link your Tuya account to your voice assistant first. Open the Alexa or Google Home app. Go to the “Skills & Games” or “Works with Google” section. Search for “Tuya” or “Smart Life” and enable the skill. Log in with your Tuya account credentials. After linking, your devices should appear in the voice assistant app. You might need to ask the assistant to “discover new devices” for them to show up. Then you can use voice commands to control them.
My device won’t connect to Wi-Fi during setup. The light is blinking fast. What can I do?
This is a common issue. First, ensure your phone is connected to the 2.4 GHz Wi-Fi network, not 5 GHz. Most smart home devices require 2.4 GHz. Second, move the device closer to your router. Weak signal during setup often causes failures. Third, check for special characters in your Wi-Fi password; try a simple password with only letters and numbers temporarily. Finally, power cycle both the device and your router. Turn them off for 30 seconds, then restart the router first, wait a minute, and then try setting up the device again. If the fast blinking continues, press the device’s reset button for 5-10 seconds until it restarts, and begin the process from the start in the Tuya app.